1. リモートリポジトリの作成
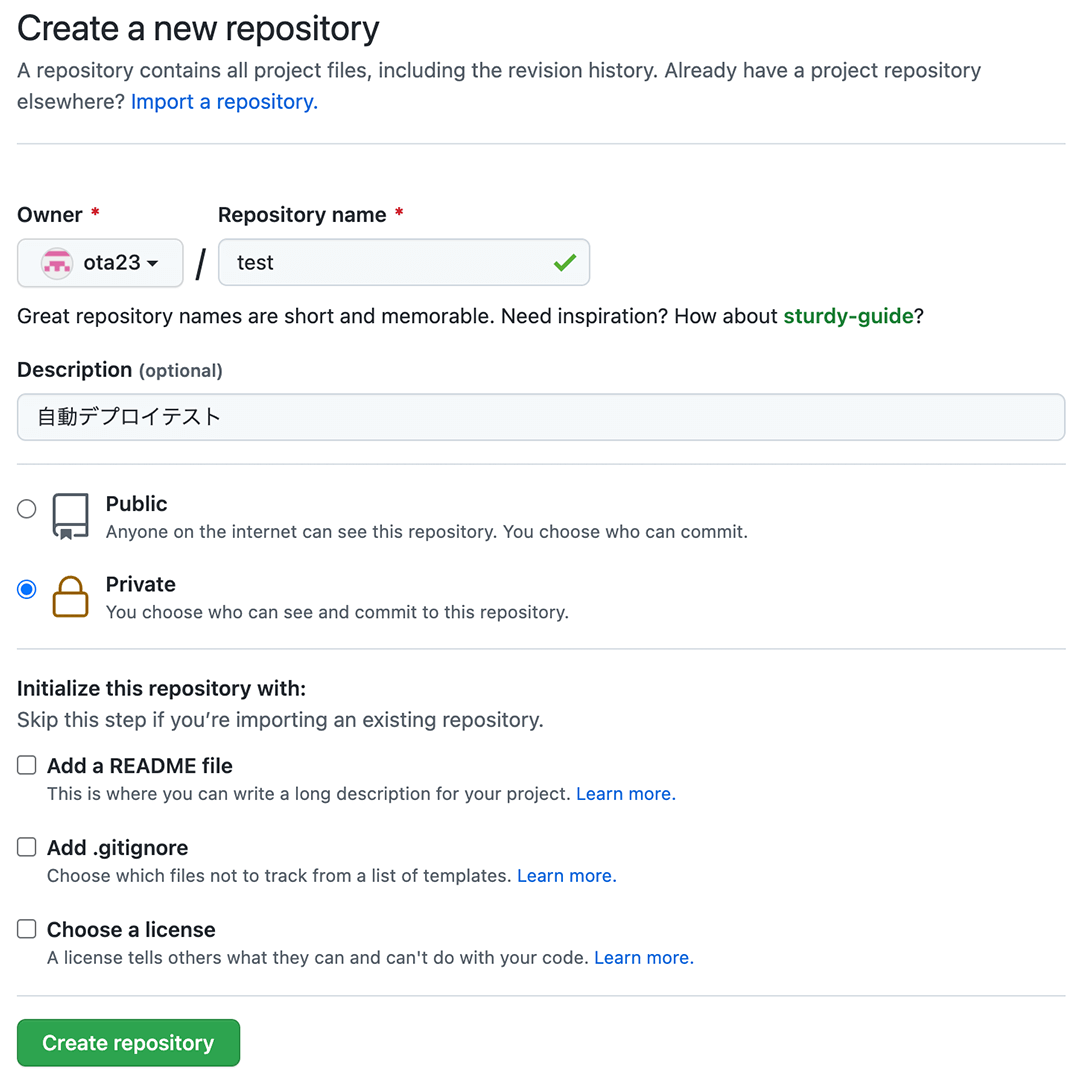
GitHubでリモートリポジトリを作成する。
ここではリポジトリ名をtestとする。
2. 公開鍵の登録
テストサーバーにssh接続し、~/.sshディレクトリに下記のコマンドでsshキーペアを作成する。
 $ ssh-keygen -t rsa -b 4096 -C nodajima.jukucho@gmail.com
Generating public/private rsa key pair.
Enter file in which to save the key (/home/teakaida/.ssh/id_rsa): id_test
Enter passphrase (empty for no passphrase):
Enter same passphrase again:
Your identification has been saved in id_test.
Your public key has been saved in id_test.pub.
The key fingerprint is:
SHA256:phQ+kzProa+mONO3KdtdGoU7msPwpahvmo0d/+oMnlc nodajima.jukucho@gmail.com
The key's randomart image is:
+---[RSA 4096]----+
| |
| |
| . |
| . + |
| X S |
| . .E@ |
| .o= +B . |
|oB=BOB * |
|*BOO&B* |
+----[SHA256]-----+
その際、秘密鍵の名前を聞かれるので、id_testとする。(任意)
パスフレーズを指定できるが、何も入力せずEnterをクリックする。
id_test(秘密鍵)とid_test.pub(公開鍵)が生成される。
~/.ssh
 ├ id_test(秘密鍵)
 ├ id_test.pub(公開鍵)
id_test.pub(公開鍵)の中身をコピーする。
$ cat id_test.pub
ssh-rsa xxxxxxxxxxxxxxxxxxxxxxxxxxxxxxxxxxxxxxxxxxxxxxxxxxxxxxxxxxxxxxxxxxxxxxxxxxxxxxxxxxxxxxxxxxxxxxxxxxxxxxxxxxxxxxxxxxxxxxxxxxxxxxxxxxxxxxxxxxxxxxxxxxxxxxxxxxxxxxxxxxxxxxxxxxxxxxxxxxxxxxxxxxxxxxxxxxxxxxxxxxxxxxxxxxxxxxxxxxxxxxxxxxxxxxxxxxxxxxxxxxxxxxxxxxxxxxxxxxxxxxxxxxxxxxxxxxxxxxxxxxxxxxxxxxxxxxxxxxxxxxxxxxxxxxxxxxxxxxxxxxxxxxxxxxxxxxxxxxxxxxxxxxxxxxxxxxxxxxxxxxxxxxxxxxxxxxxxxxxxxxxxxxxxxxxxxxxxxxxxxxxxxxxxxxxxxxxxxxxxxxxxxxxxxxxxxxxxxxxxxxxxxxxxxxxxxxxxxxxxxxxxxxxxxxxxxxxxxxxxxxxxxxxxxxxxxxxxxxxxxxxxxxxxxxxxxxxxxxxxxxxxxxxxxxxxxxxxxxxxxxxxxxxxxxxxxxxxxxxxxxxxxxxxxxxxxxxxxxxxxxxxxxxxxxxxxxxxxxxxxxxxxxxxxxxxxxxxxxxxxxxxxxxxxxxxxxxxxxxxxxxxxxxxxxxxxxxxxxxxxxxxxxxxxxxxxxxxxxxxxxxxxxxxxxxxxxxxxxxxxxxxxxxxxxxxxxxxxxxxxxxxxxxxxxxxxxxxxxxxxxxxxxxxxxxxxxxxxxxxxxxxxxxxxxxxxxxxxxxxxxxxxxxxxxxxxxxxxxxxxxxxxxxxxxxxxxxxxxxx== nodajima.jukucho@gmail.com
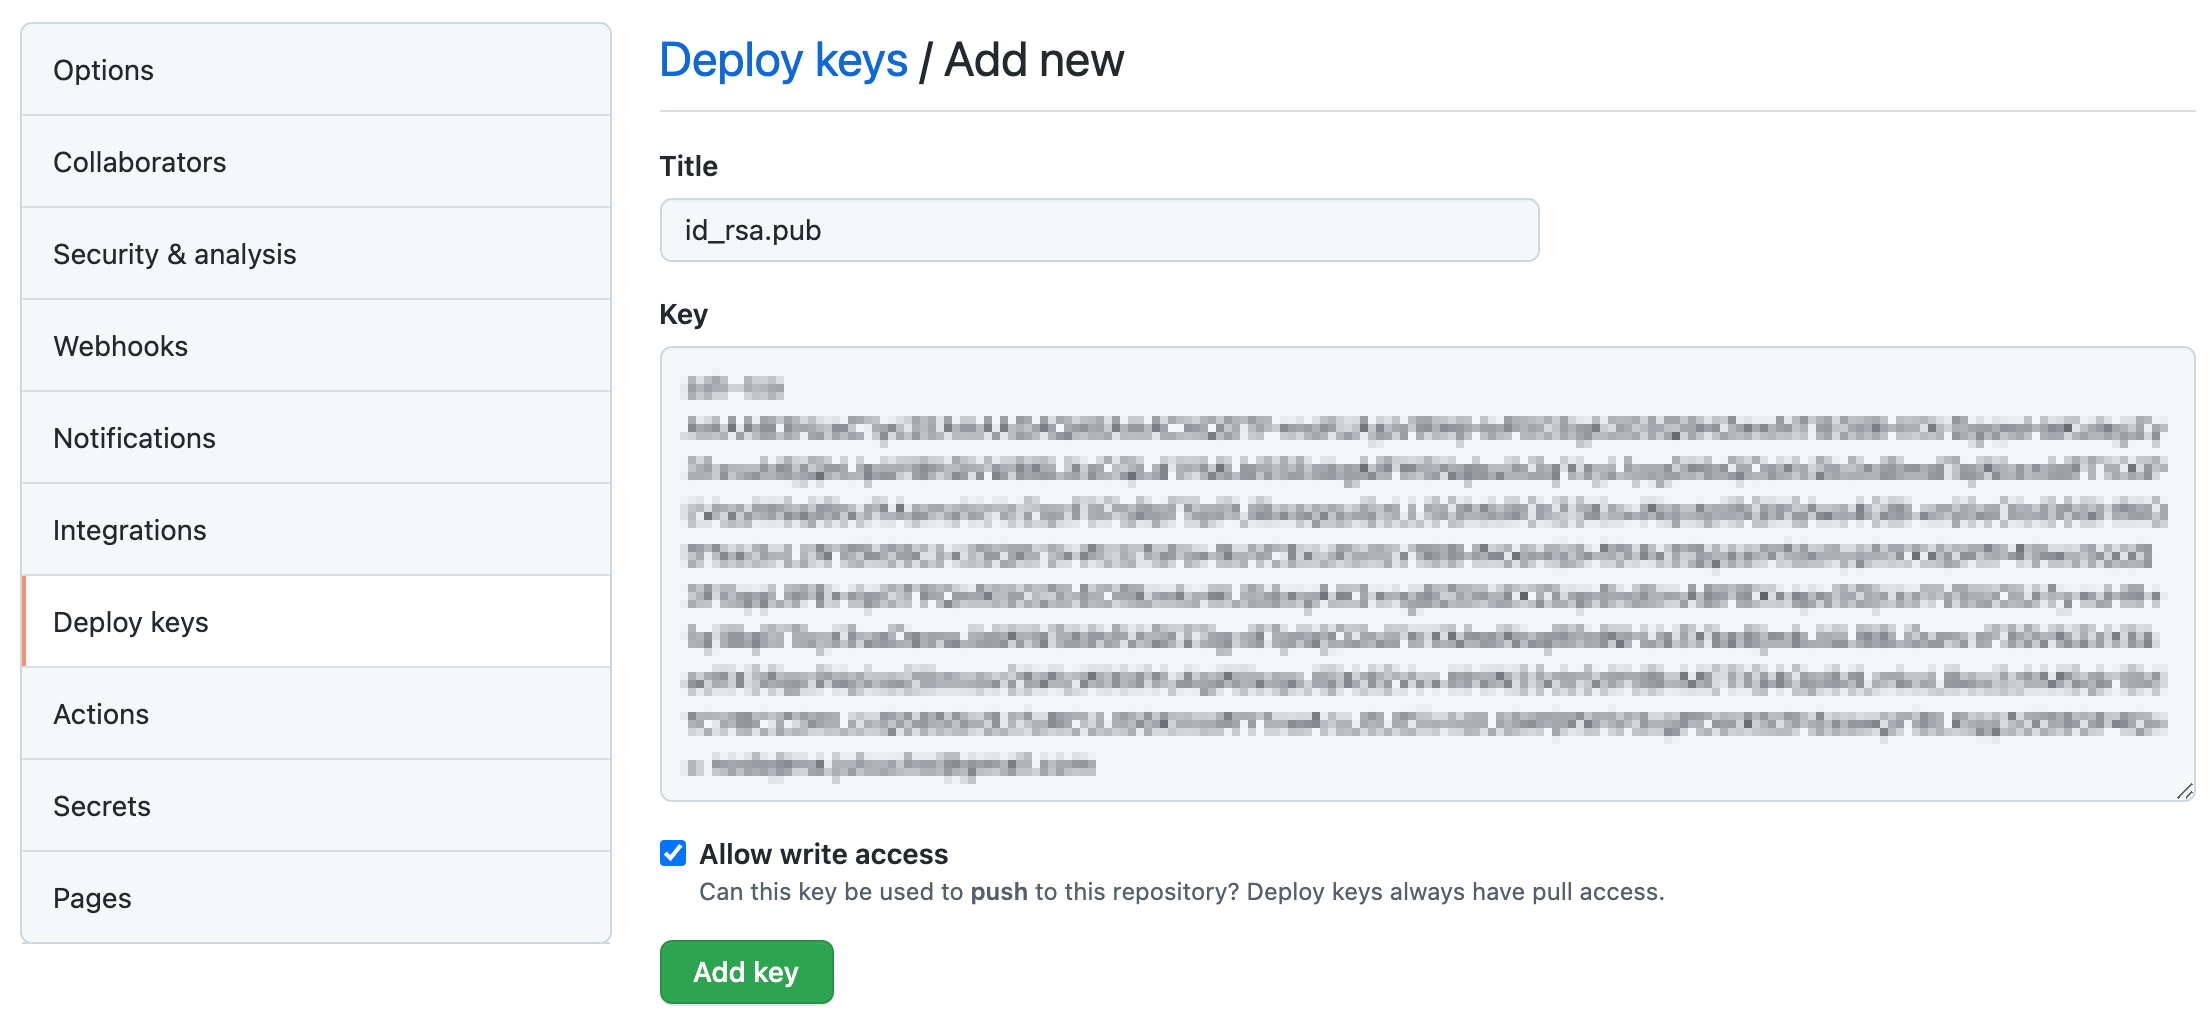
作成したGitHubのリモートリポジトリtestの、SettingにあるDeploy keysのKey欄に貼り付ける。(Title欄は任意)
Allow write accessにチェックを入れ、Add keyをクリックする。
3. テストサーバーssh設定
テストサーバーにssh接続し、下記のコマンドでssh設定ファイルを開き、GitHubのリモートリポジトリと通信するための設定を記述する。
$ vi ~/.ssh/config
 Host github.com.test   // github.com.リモートリポジトリ名
 HostName github.com
 User git
 Port 22
 IdentityFile ~/.ssh/id_test  // 秘密鍵の名前
 TCPKeepAlive yes
 IdentitiesOnly yes
下記のコマンドで、リモートリポジトリtestを、テストサーバーのpublic_html/にクローンする。
クローンに失敗する場合は、ここまでの手順を見直す。
$ cd ~/public_html/  // ~/public_html/に移動
$ git clone git@github.com.test:ota23/test.git
4. デプロイスクリプトの配置
ここではdeploy_test.phpとする。(任意)
テストサーバーにFTPで自動デプロイスクリプトをpublic_html/配置する。
 makemistakes.dev/
  ├ public_html/
    ├ deploy_test.php
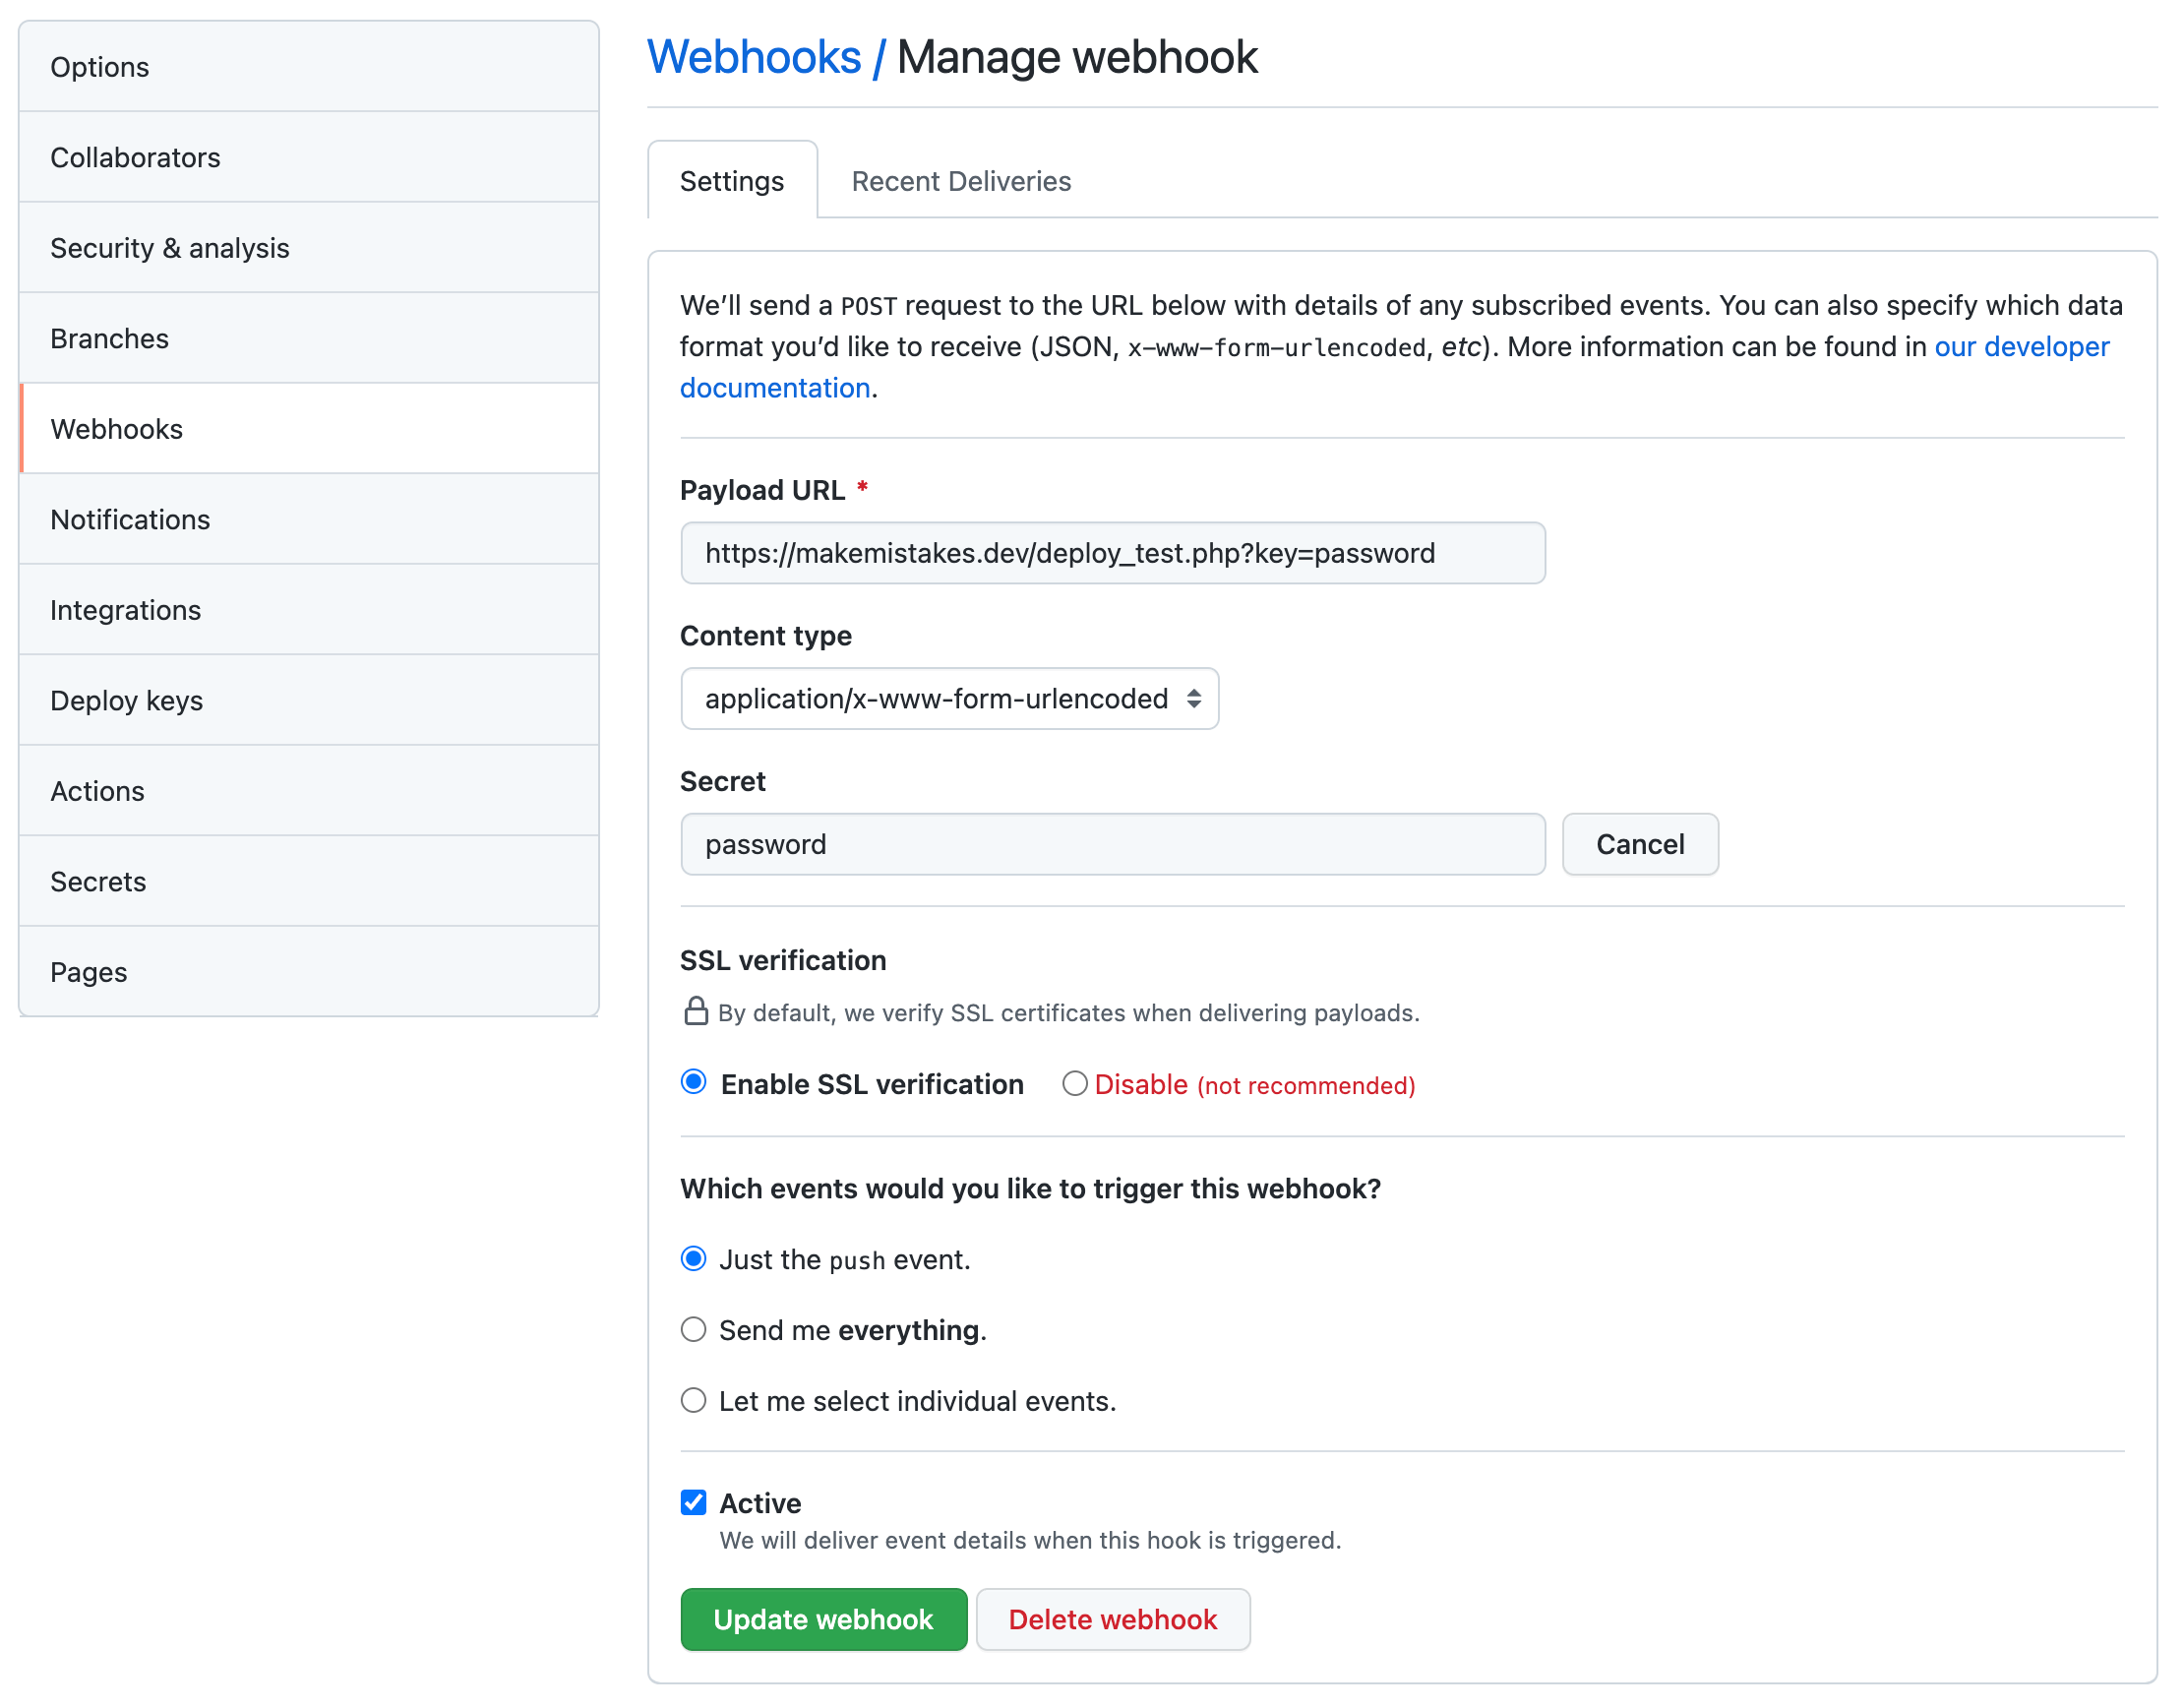
リモートリポジトリtestの、SettingにあるWebhooksに、デプロイスクリプトを登録する。
下記のように設定し、その他の項目は初期設定のままにする。
- Payload URL:
- 配置したデプロイスクリプトのURLに、クエリを用いてスクリプト内の$secret_keyに記述した文字列を付ける。
テストサーバー上のローカルリポジトリにBasic認証をかけている場合は
https://dev:dev@makemistakes.dev/deploy_test.php?key=password (basic認証dev/dev)
- Secret:
- $secret_keyに記述した文字列
5. ローカル環境にリポジトリを作成
下記のコマンドをローカル環境のターミナルから入力し、リモートリポジトリtestをクローンする。
ローカルリポジトリが作成される。
$ git clone git@github.com:ota23/test.git
6. 自動デプロイ
ローカルリポジトリでブランチを作成し、作業をしてリモートリポジトリにブランチをプッシュする。
Sourcetreeなどのgitクライアントソフトウェアでも可。
 $ git checkout -b local  // ブランチlocalを作成してチェックアウト

$ git add .  // 変更をステージ

$ git commit -m "1st commit"  // ステージされた変更をコミット

$ git push origin local  // リモートリポジトリにlocalをプッシュ
Githubのリモートリポジトリにブランチlocalがプッシュされたことが通知されているので、"Compare & pull request"をクリックする。
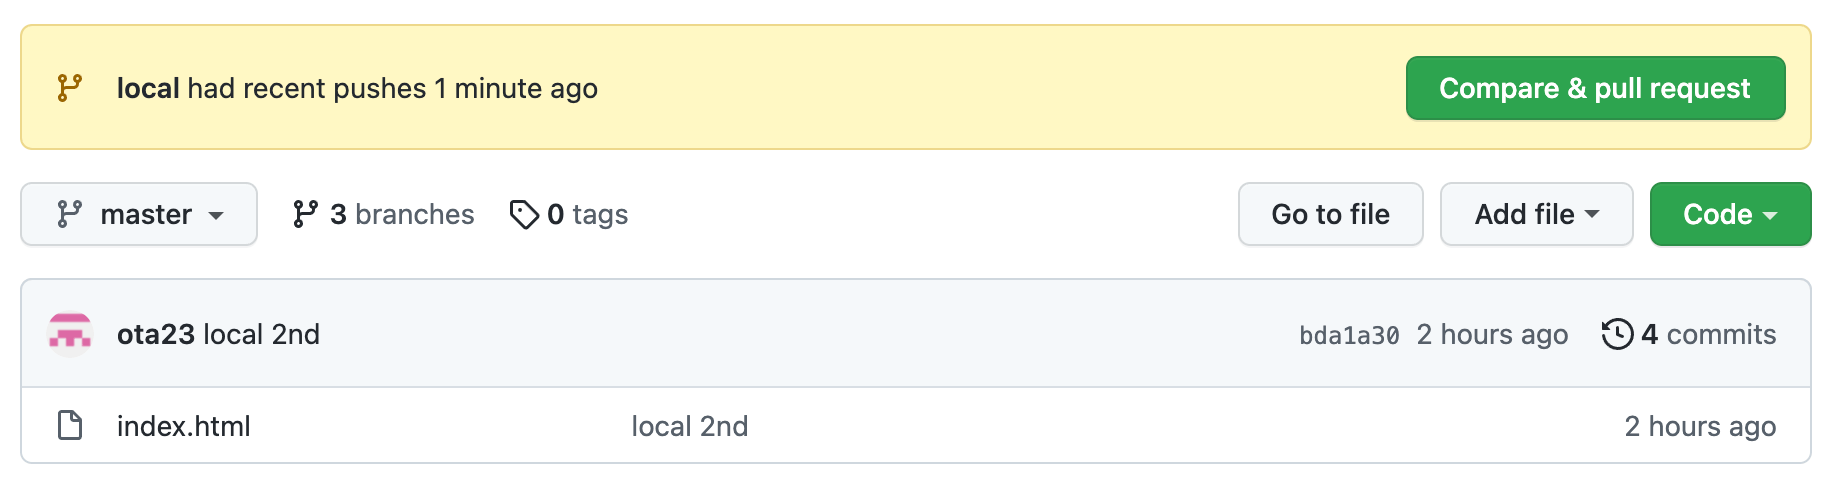
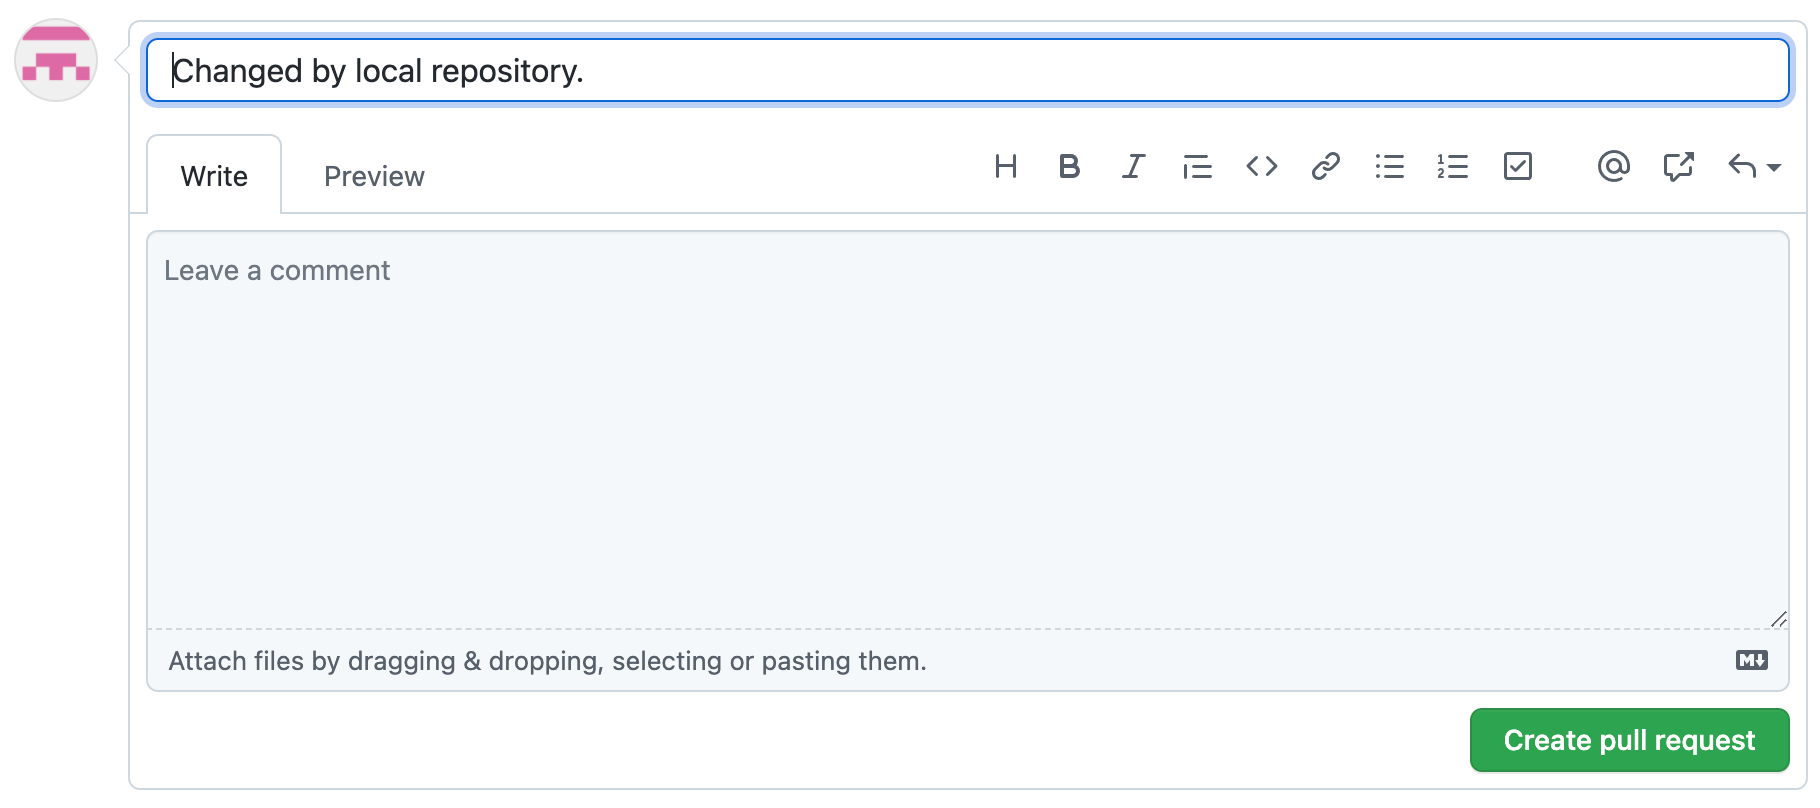
コメントがあれば記述し、"Create pull request"をクリックして、プルリクエストする。
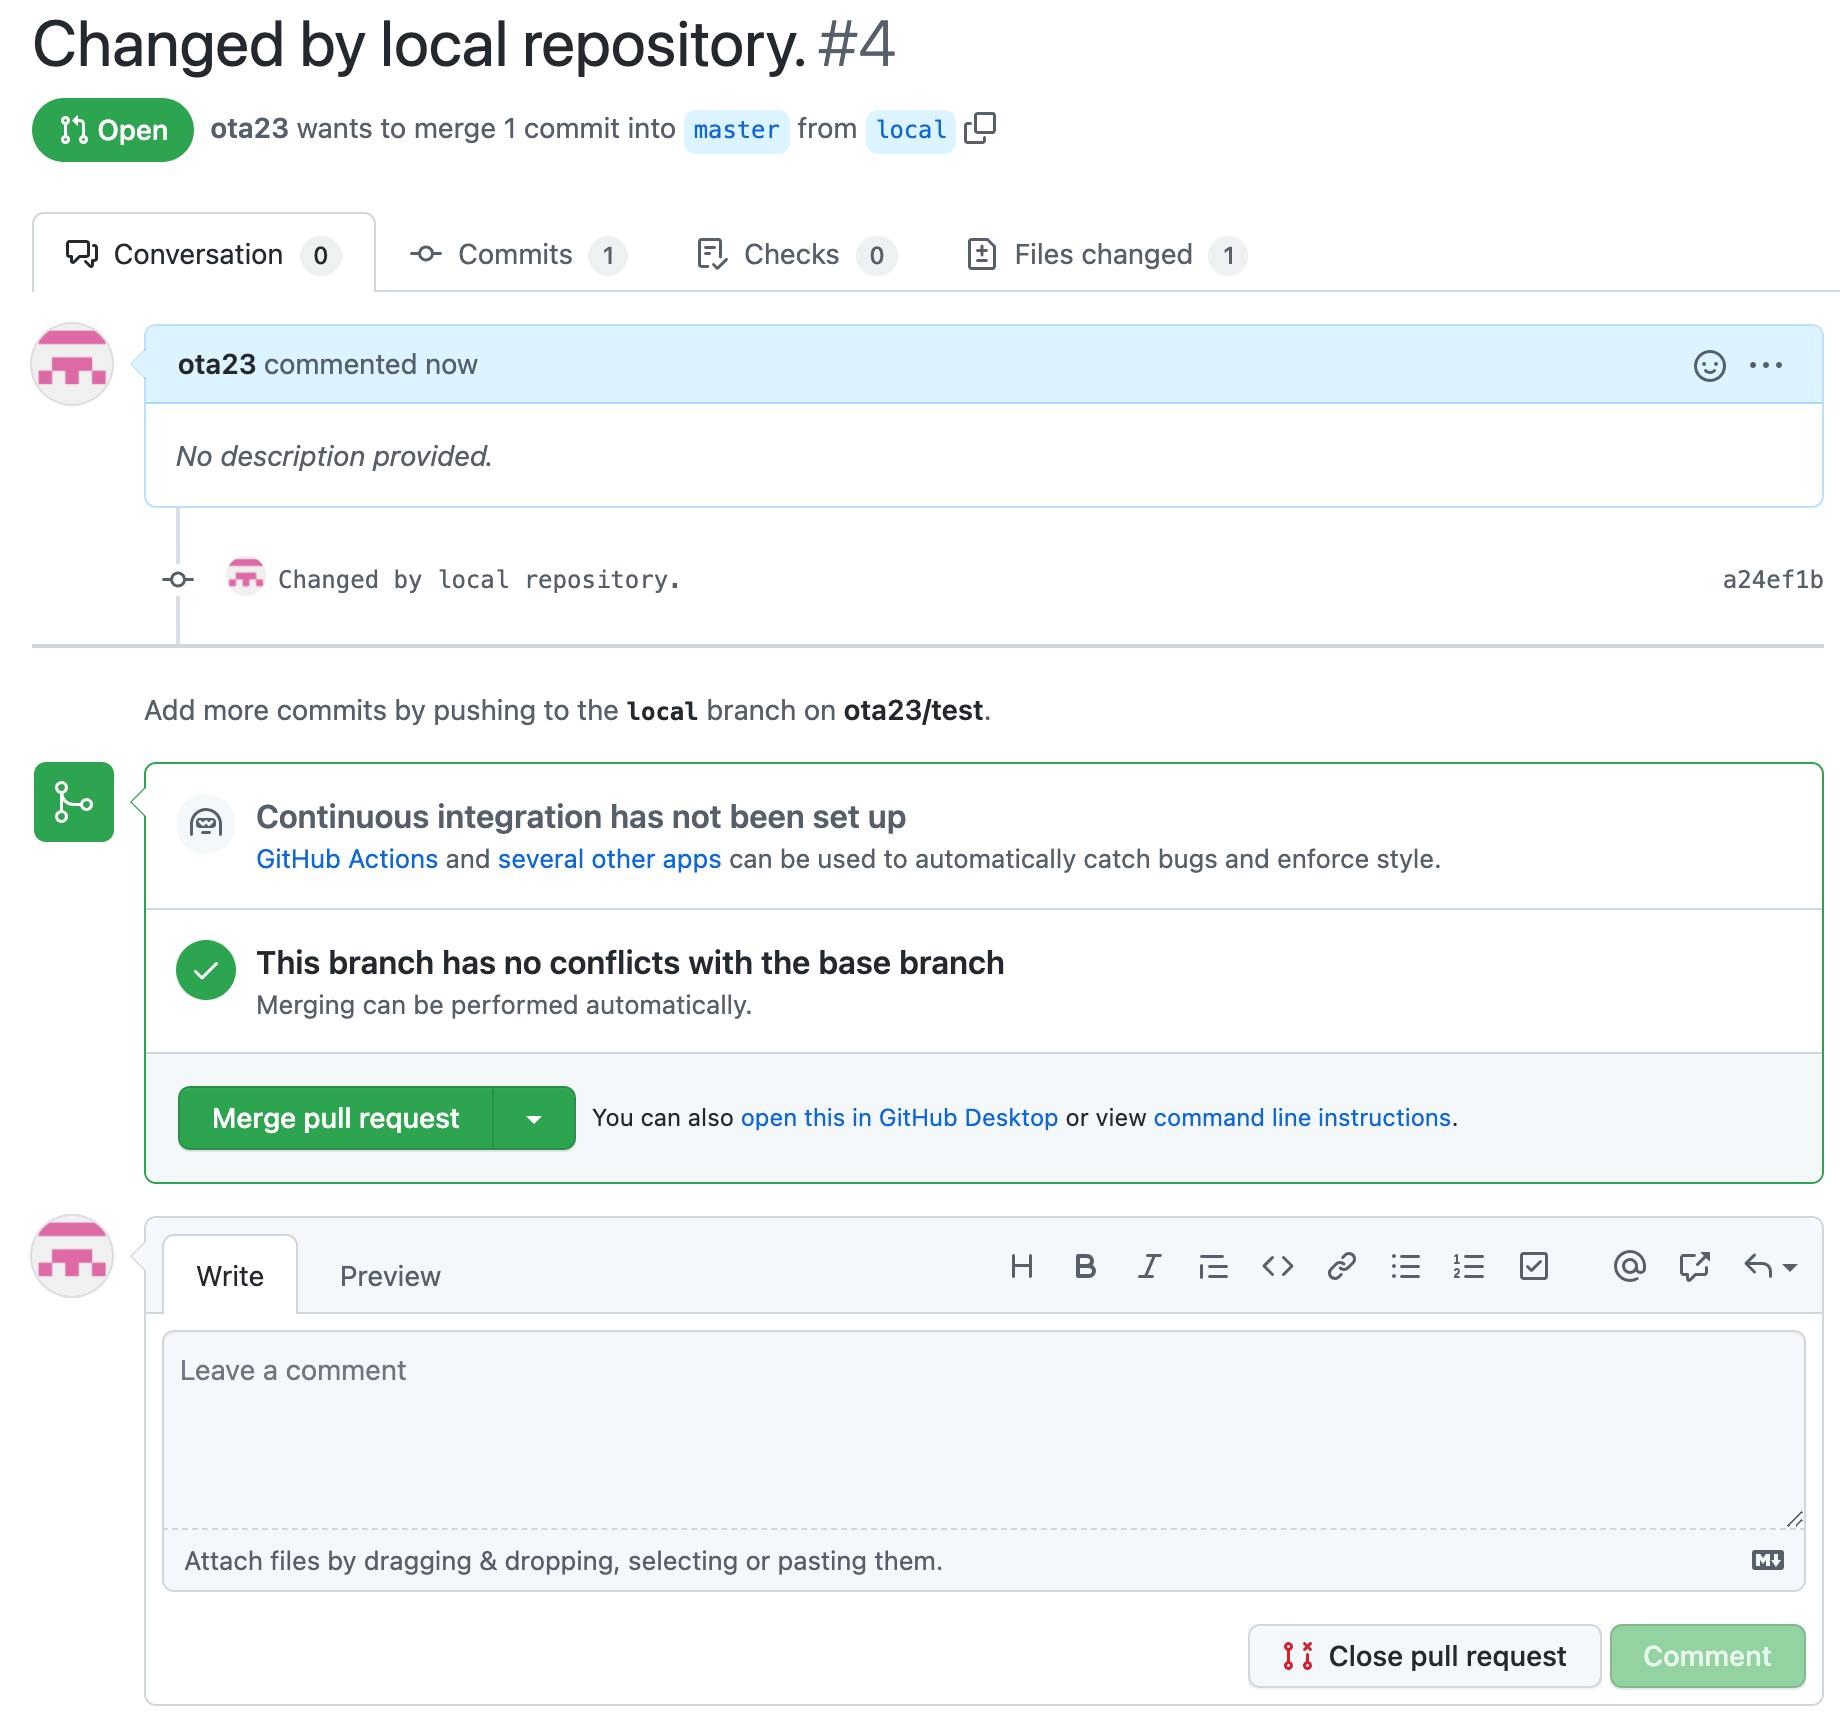
マージできることが確認され、"Merge pull request"が出現したらクリックして、プルリクエストをマージする。
"Confirm merge"をクリックする。
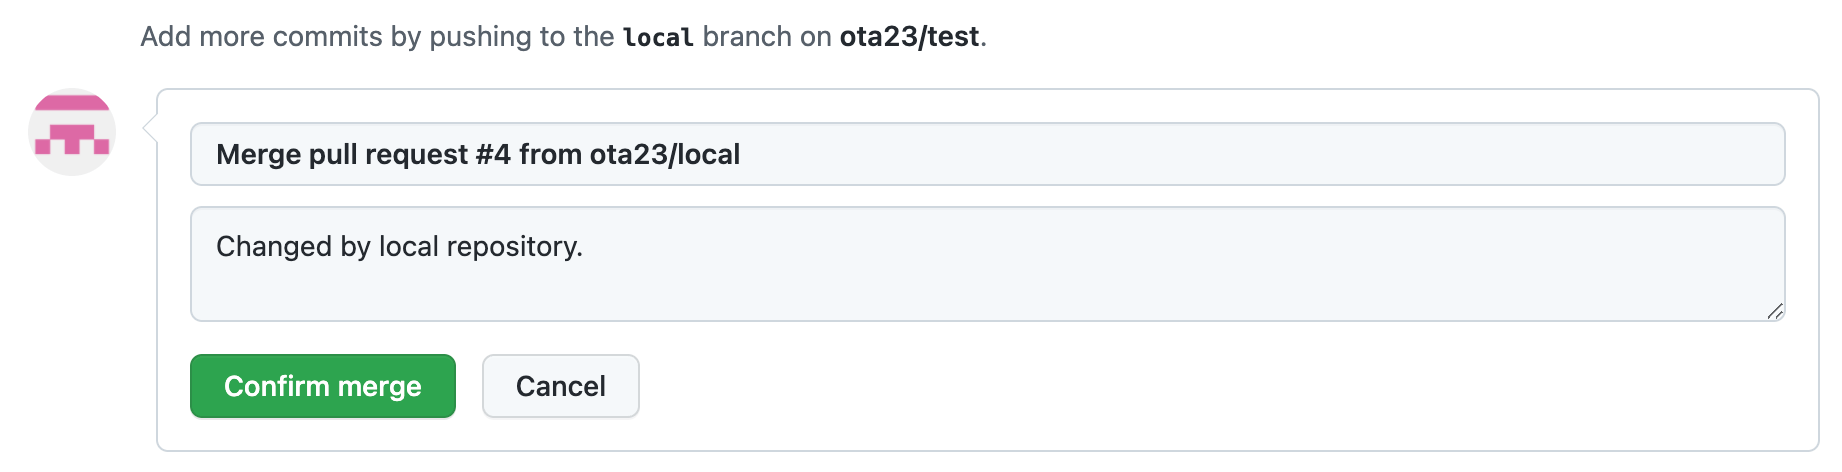
プルリクエストが正常にマージされたと表示される。

テストサーバー上のローカルリポジトリhttps://makemistakes.dev/test/をブラウザで確認すると、テストサーバーに変更が反映されている。
反映されない場合はスクリプトの記述や、Webhookの設定を見直す。
